Take your custom site to the next level with these popular Ghost + VuePress recipes.
The flexibility of the Ghost Content API allows you to feed posts, pages and any other pieces of content from your Ghost site into a VuePress front-end. Below are a few popular examples of how to customise your site.
If you just landed here, check out Working With VuePress for more context!
Post list component
Components live in a .vuepress/components/ folder. Create this folder structure and make a new file in components called PostList.vue. In that file add a <template> element add the following to list all of the posts:
<template>
<div>
    <div v-for="post in posts">
        <h2>
            <router-link :to="post.path">
                <div v-if="typeof post.frontmatter.feature_image !== 'undefined'" style="max-width: 250px;">
                    <img :src="post.frontmatter.feature_image" alt="" />
                </div>
                {{ post.frontmatter.title }}
            </router-link>
        </h2>

        <p>{{ post.frontmatter.excerpt }}</p>
        <p>Published: {{ formateDate(post.frontmatter.published_at) }}</p>

        <p><router-link :to="post.path">Read more</router-link></p>
    </div>
</div>
</template>
In the same file, just below the <template> element, add a <script> element, which will contain queries that will in turn pass data to the <template> above:
<script>
import moment from "moment"

export default {
    methods: {
        formateDate(date, format = 'D MMM, YY') {
            return moment(date).format(format)
        }
    },
    computed: {
        posts() {
            return this.$site.pages
                .filter(x => x.path.startsWith('/') && !x.frontmatter.index)
                .sort((a, b) => new Date(b.frontmatter.published_at) - new Date(a.frontmatter.published_at));
        },
    }
}
</script>
The last step is to reference the component in the index.md file like this:
---
index: true
sidebarDepth: 2
---

# Howdie 🤠

Ghost ❤️ VuePress

<PostList />
Restart your server and head to http://localhost:8080/ to see the posts being rendered:
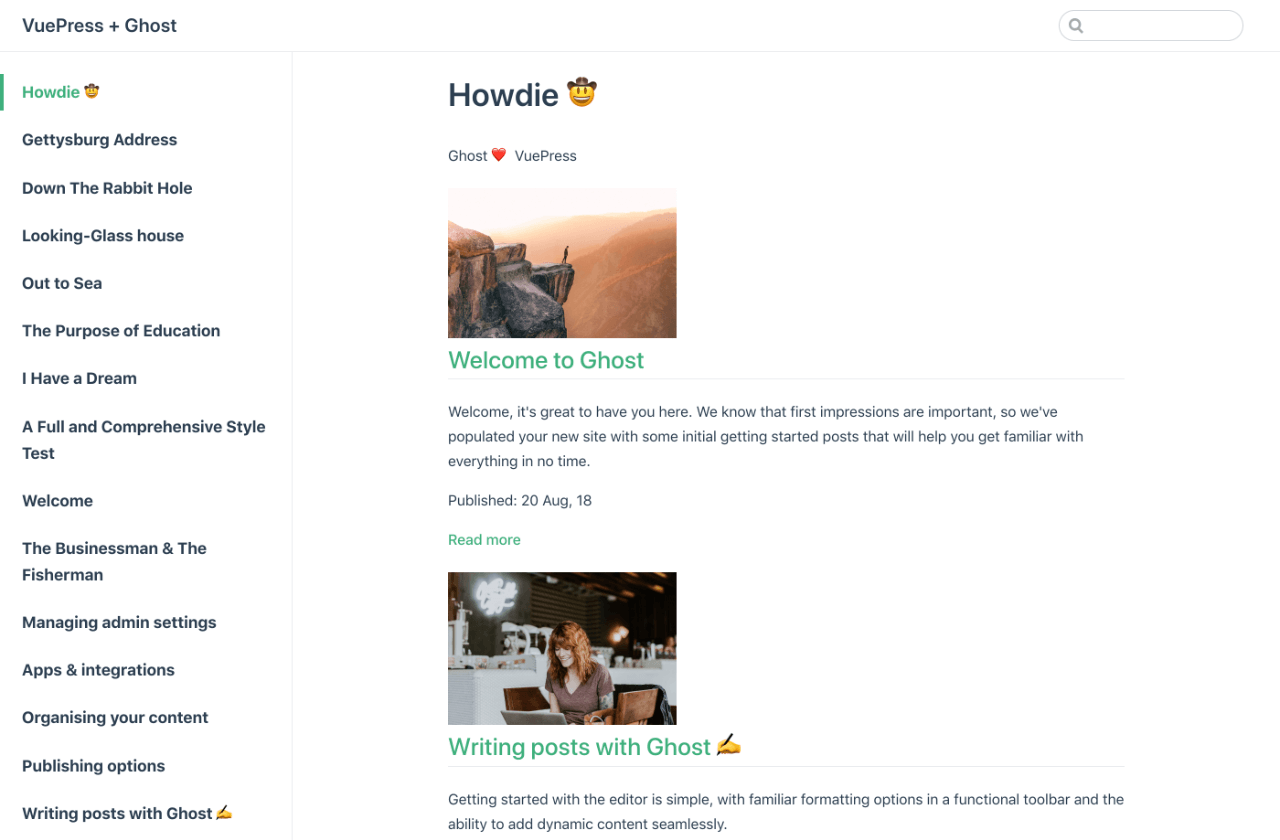
Further reading
Learn more about the Ghost API and specific endpoints in our API documentation or check out the VuePress docs to find out how to customize the default theme.