One of the most powerful features within the Ghost theming layer is the ability to create custom templates.
Once implemented in your theme files, these templates can be selected by your team when creating a post or page, allowing the writer to use a unique layout for their content quickly and easily.
This tutorial shows you how to create a custom template within a Ghost theme.
Getting started
Custom templates are useful for a variety of use cases, including:
- Adding custom styles to specific posts, such as posts that have video embeds and need to be displayed full-width, or special featured articles that need a different header image.
- Creating reusable landing page templates for marketing materials such as email sign up pages or landing pages for paid ads or special campaigns.
To begin creating a new custom template, download the active theme in use or locate the theme files that you're working with in your local environment.
Every Ghost theme contains a series of hbs files that render all of the posts, pages, and HTML in your site.
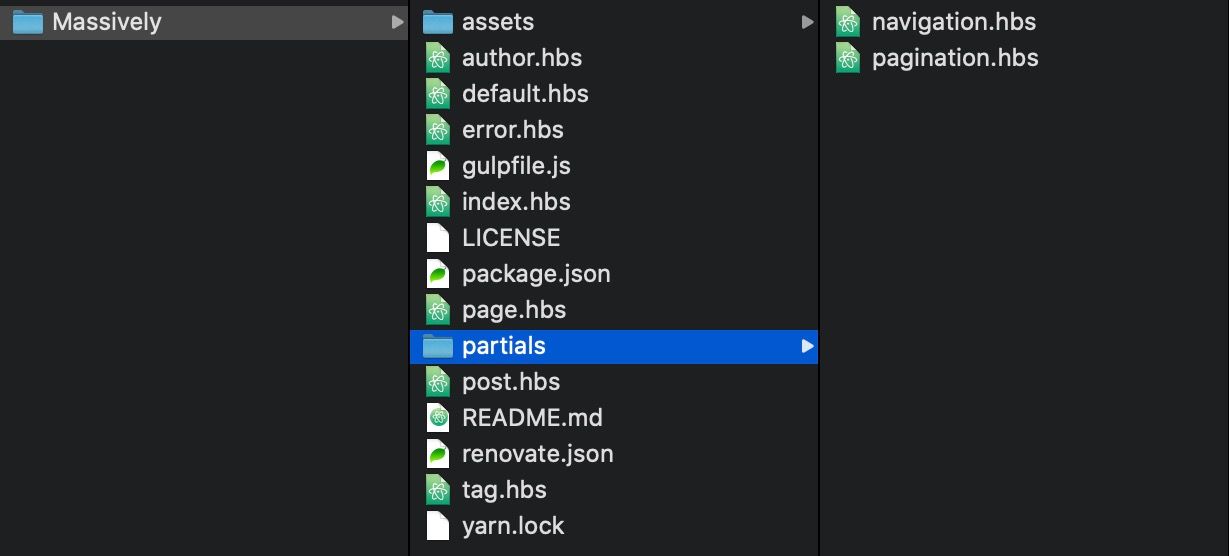
Create a template file
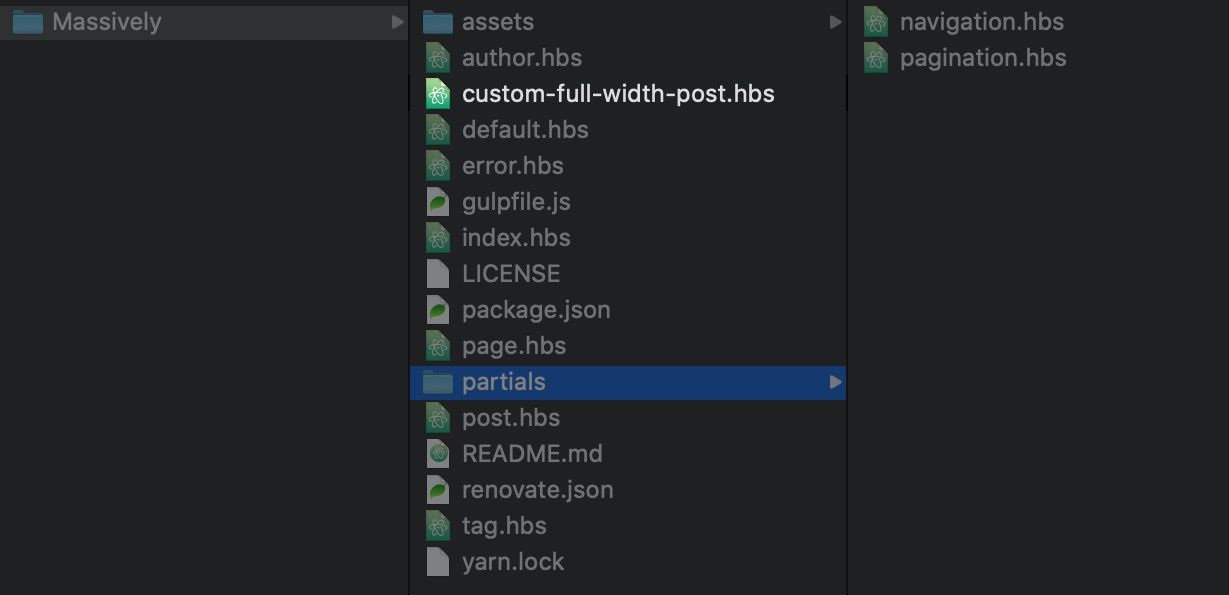
Create a new file within the root theme folder with the prefix of custom-. In this example we're going to use custom-full-width-post.hbs.
custom-{{template-name}}.hbsThe naming convention for custom templates is important for two reasons:
- The
custom-prefix lets Ghost know that this is a custom template and that it should be selectable in the post settings panel. - Everything after the initial dash (-) is used as the name your writers will see in the post settings UI. In this example, the name would appear as "Full Width Content".
Build your custom template
Now that a template file has been created you can get started and put some code inside it. We have extensive documentation to help you develop your own completely custom template with the power of modern HTML, Handlebars helpers and custom CSS. Check out our theme documentation for more.
If you need a good starting point to make changes, you can copy the code in the existing post.hbs template and begin editing from there. Take a look at the post template code for Casper, the default theme for Ghost.
Update your theme
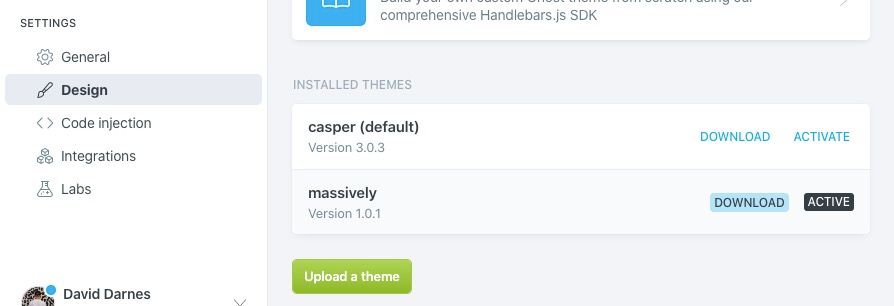
When you've finished deploy your theme by zipping up the root folder and uploading the new zip file from the Design page in Ghost Admin. Using the same name will overwrite the previous version of this theme.
Tip 💡 Use the GitHub Actions integration to deploy your theme changes automatically.
Accessing your custom template
The final part of this process is to select and use the custom template you've just created inside a post or page in Ghost:
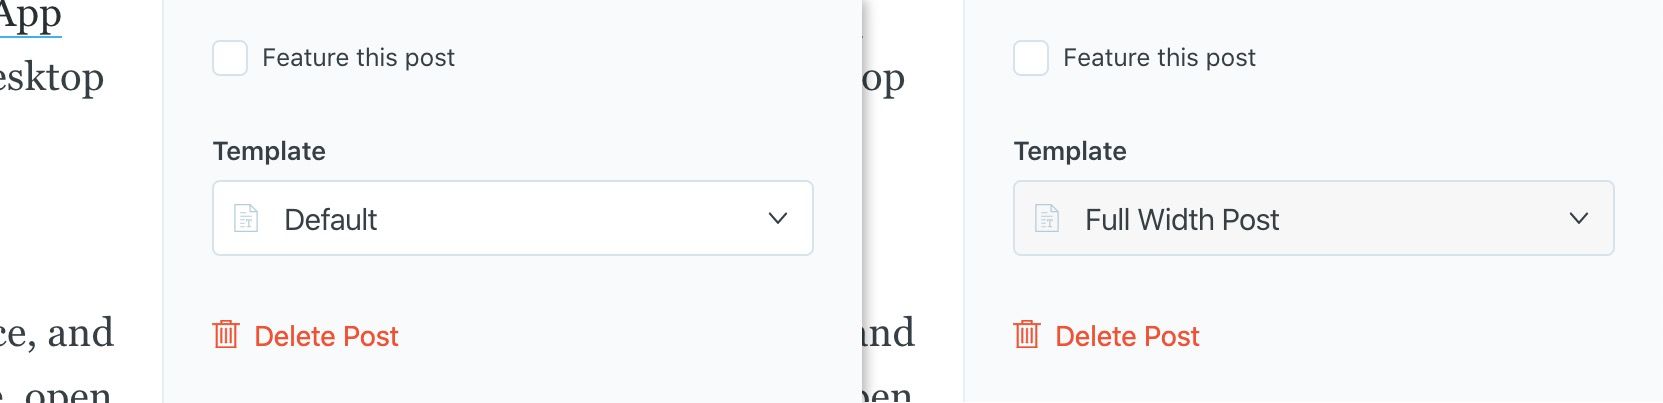
That's it! 🎉 Now your writers can select your custom template whenever needed when creating new content on the site.
Summary
Nice! You've successfully created a custom post template in your Ghost theme and it's now ready to use from within the editor. The custom template creation process can be repeated as many times as you like, allowing you to be more creative with art directed content and article layout variations.